Sunday, November 22, 2015

Owl Pillow Creation

Joy has been bestowed upon our family! My brother and his wonderful wife have delivered their new bundle.  A beautiful baby girl (the first girl in our line for a VERY LONG TIME!).  She is the spitting image of my brother at her age...  My second (of three) brothers is expecting their son in February... the family is stoked to be growing. and I cant imagine better people to be blessed... my brothers are amazing as are their wives. 
 
That brings us to today's project... Owl Pillow for Jocelyn!  I wanted to make a gift to present at my nieces baby shower.  I wanted it to be unique and thoughtful.  So I chose to make an owl pillow.  My brother loves owls and everything with owls made it in the shopping cart without delay or question (according to my sister in law).  I found a great instruction online for creating one so I begain the quest to create a gift that hopefully will stay with little Josie forever (I still have the baby blanket made for me by my grandmother). 
 
I began by drafting a pattern on an old newspaper.  See below.  I created the body, Eyes (three sizes), the beak, wings and feet.  As shown below.  For the pupil of the eye I chose to make a heart to show how much we love our new addition.


The material I used was in my collection of horded fabric.  I used a quilting cotton weave for the front of the body in the nursery colors my sister in law used to decorate (Mint green, Peach and Navy Blue).  The back and wings are navy blue fleece and the beak and feet are a peach silk lining material which I used a piece of white felt under to give it body some texture.  The eyes are felt.  The eyes were hand stitched with contrasting thread to give some character. 


My favorite part of the whole thing are the looped fringe eye lashes!  Don't they just make it!  


I drafted up a quick information sheet on the measurements and shapes of the pattern pieces.  I tried to make a printable pattern but I am not very good at keeping patterns to scale at the moment.  If I would have uploaded the jpgs the pillow would have been HUGE!
 
 Click here to download PDF Owl Pillow Info

Saturday, November 21, 2015

Princess Leia ANH - Completed

Well, This is a very late post but I finished the Princess Leia ANH outfit complete with the belt.  See the previous posts for more info:

Princess Leia - ANH and Princess Leia - ANH Continued

The belt was made from white vinal (as a practice piece) and sheet metal.  White leather was a pricey object and there were no white scrap pieces available.  I have since procured white leather and will make the final belt one day I'm sure. 

 I used sheet aluminum to create the metal pieces of the belt.  I cut a pattern based on the schematic image in previous post.  I used 1/4in button covers and brad clips to make the center of the piece. 

I used the brads to attach the metal parts to the belt and for the practice version I used Velcro for the closure. 

When I make the final it will be done to accuracy of the show.


 All in all it's great from a distance and I got some great lessons learned for when the final belt is completed. 


We wore these to the 4th Annual Star Wars Art Festival presented by the WAR-Hous in Houston Texas.  There are some amazing pics in the Houston Press.


Steampunk Roger and Jessica Rabbit, Conclusion.

 Since I wanted to do Jessica Rabbit for our Clan theme costume of Steampunk Disney for the Texas Reniasance Festival. As described in post "Steampunk Roger and Jessica Rabbit, Pt 1." My better half was volunteered to be Roger.  I have to give him props... he didn't hesitate or complain.  We just jumped into the planning phase.  This was a little more difficult.  Since my costume rendition did not align with the cartoon feel we didn't want to build roger that way either.  We toyed with using a face prosthetic and makeup.  Aviator cap with ears coming out and many other ideas, some difficult and some simple.  We finally landed on a leather mask. 
 

Thanks to EPBOT for their detailed account of their beautiful mask we endeavored to try our hand at the Leather Mask. We were armed with the knowledge of how to accomplish our goal.  The EPBOT mask is utterly amazing (click link above to see it) but it was a bit feminine for My roger and theirs was also the White Rabbit from Alice in Wonderland.  He wanted something a little more ominous.  Our mask was inspired by Teonova @ Deviant Art.  The craftsmanship is absolutely amazing.  Props to Teonova!

We also watched many YouTube videos,  our favorite being this one by Angelic Artisan.


There isn't really a pattern available for what we were looking for so I started by "Mapping" his face with a piece of felt.  It was just me putting the felt on him and marking where his eyes were and where the bottom and top of the mask should fall.  The pattern turned out pretty good and looked a little like this.

In order to make the ears and eyes symmetrical I used the second eye as a guide and flipped the pattern to make the second half of the mask.  We used 8oz vegetable tanned leather to make the mask and the soak, bake, shape method to create it. 

I am not a procrastinator,  I work best in a deadline induced panic... so the night before the big camping trip we began to soak and shape.  We soaked the mask in water until no more air bubbles escaped.

At 10pm we set the oven for 170 (gotta use the lowest setting to keep from burning the leather).  We used a cookie sheet with parchment paper and built up a parchment paper bridge for when the mask is no longer flat.  Once the mask was soaked we placed it in the oven for 15 minutes.  We then pulled it out and started shaping.  This process was surprisingly not as complicated as we had anticipated.  Before the mask cools all the way put it back in the oven for 5 minutes, pull it out and shape it some more... repeat until the desired shape is achieved then bake for 20-30 minutes until the mask is dry.  Here are some pics of the process.


 Since it was late and at the last minute we opted to simply make the mask white like Roger with little detail as initially planned.  We used an acrylic based spray primer paint since the acrylics were not applying properly to the leather.  Once the color was even we applied a clear gloss sealer. 

NOTE: Don't paint the part of the mask that is touching the face.  Fumes and chemicals can be damaging to the wearer.


The Final product!  For our very first leather project it turned out quite nice if I do say so myself.


My guy would not wear red pants more than once so in an effort to ensure the costume would have a long useful life we found some awesome leather pants at Good Will as well as the vest.  I made the shirt the previous year.  to tie the pants to Rogers red overalls I made spats out of the material I used for my bustle to tie us together.

These were also made the night before.  I used saran wrap and duct tape to make the pattern and added a 5/8ths seam allowance.  (be sure to wrap the leg with the right pants and shoes to ensure it fits properly). 

For the Tail we used an old scrap fir coat I got at a thrift store for the sole purpose of using it's parts.  We cut the end of the sleeve off, I sewed it up and stuffed with poly fill.  we attached it to his pants with a kilt pin. 


I really loved the outcome!  I cannot wait until next year.  I'll keep you posted :)
 

Steampunk Roger and Jessica Rabbit, Pt 1

Every year we camp out at the Texas Renaissance Festival with our little camping group.  We call ourselves Clan Wicked Elements!  Surprisingly enough we just realized that 2016 will be the 10th consecutive year we have camped as a group.  Wow, Time Flies when you are having fun. 

For the 2015 season we decided on a Clan costume theme and we selected Steampunk Disney. This is the blog about My family costume theme... Roger and Jessica Rabbit. 

So we set out to design the costume and started with a google image search.  After hours of hunting and pecking and reviewing pintrest, google, and much more I found the image I was inspired by! 


Original art by Khallion @ Deviant Art (Link to Artist)

I found this artistic expression absolutely gorgeous and I love the Art Noir feel. 

Although I would have loved to design my outfit exactly like the picture I also didn't have the time nor the skill level required to do this justice.  So I opted to recreate my favoriate elements of this artistic expression. 


The corset being the center piece of the outfit needed to be PERFECT.  I found an amazing deal at Corset Queen for a red corset with black beaded overlay. 

I got a buy one get one deal so it worked out that I also have the core piece for a future costume.


Once the corset was procured I started on the skirt. Now, the Jessica I wanted to recreate was in the performance dress.... it sparkled beautifully! The only problem was I did NOT want sequence.  The material needed to be perfect.  Getting a sparkling red material that hangs the right way and is not uber expensive is a very difficult task indeed.  I wanted small sparkles that covered the material.  The hunt began.

Did you know there is permanent spray glitter for material?!?  So very excited and I now am the proud owner of a lightly sparked phone case, Pink glittery canvas shoes and a sparkle lettered custom tshirt!  OMG! I want to glitter absolutely everything.... but I digress. 

On an outing to the thrift store I found the most beautiful burgundy bridesmaids dress.  I scooped it up for a whopping $5.00... If I were to procure the material to make it I never would have been able to afford the material this dress was made of.

I found this wonderful stock photo of the dress I found. So armed
with a seam ripper and Netflix I began the deconstruct process.

I removed the lining and the bodice.  There was also an wrapped portion of the skirt that was removed and reattached in the right direction. 

It's a good thing that I hoard fabric and curtain panels... The bustle was created with a burgundy microfiber curtain panel I had in my fabric collection. 


I also do not like to wear a corset without a chemise of some kind.  I know that the image has Jessica's shoulders exposed but I prefer to be covered.  So I also found a shear Picnic cover in the perfect burgundy to accent the ensemble.


Here is a view in the planning phase.  I did not use the belt (or any for that matter).  I did not want a belt rubbing off the beads. 


I used the free pattern from the How Joyful blog to craft the chemise top.  I made a couple of changes.  First I left the front open to give the "Keyhole" affect and added a rose belt clasp to close at the neck. 


The skirt is a wrap around with perm glitter sprayed on. 

Instead of gloves I made angel wing detachable sleeves from the sleeves of a velvet dress (also procured at a thrift store).  I then added some lacey trim and a wonderful applique for detail.  This was the second easiest part to complete next to the curtain bustle. 


The final part... the hair!  I have decently long hair but it is brown and I am not a good looking red head no matter how much I want to be :).  So I found a long wig on AliExpress very cheap!

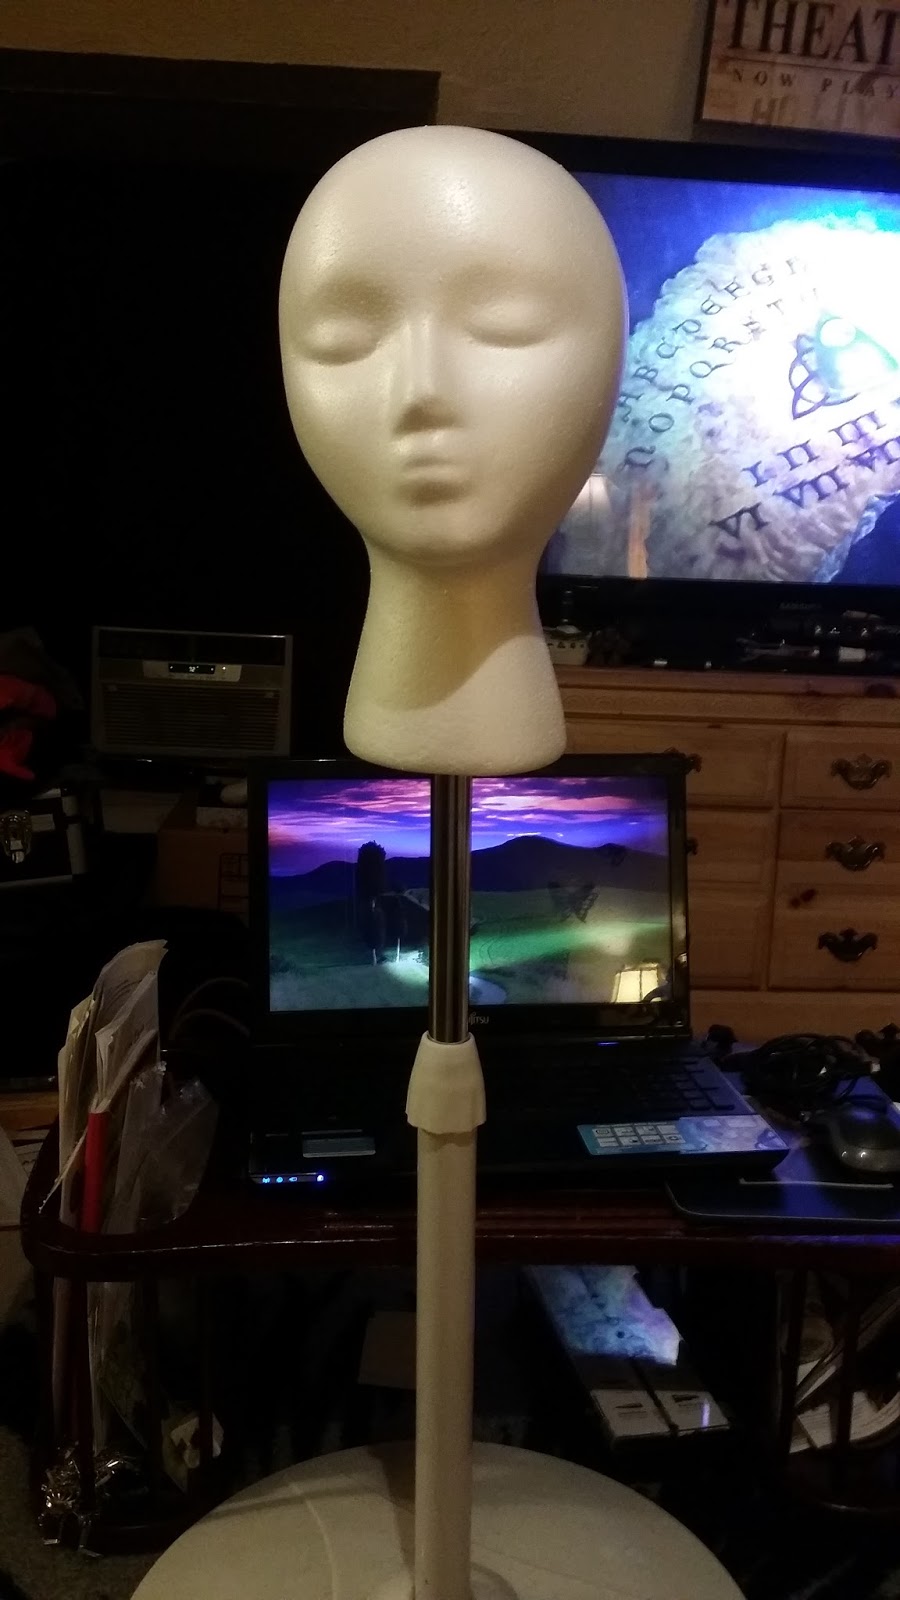
My handsome better half made me a head stand to be able to style the hair (and make hats later). for which I adore!  See for yourself.


I was going to use the Victory roll style but due to the construction of the wig I needed to redesign the hair.  I had a wonderful necklace that made a beautiful hair wrap and I did pin curls.  The results were nice.


For the bustle I didnt have time to sew it before our camping event so we used breakline and made what I like to call Bustle Rings...  This allowed me to tie my pouch and other items to the outfit since I didnt wear a belt in order to protect the beads. 


Overall the first run was a success.  I need to tweak a few things to make it perfect.  I'm going to extend the bustle material by adding the other half a panel as well as make some bloomers from the purple velvet material to gain a little modesty (the wind showed my shorts). 


Check out the conclusion!